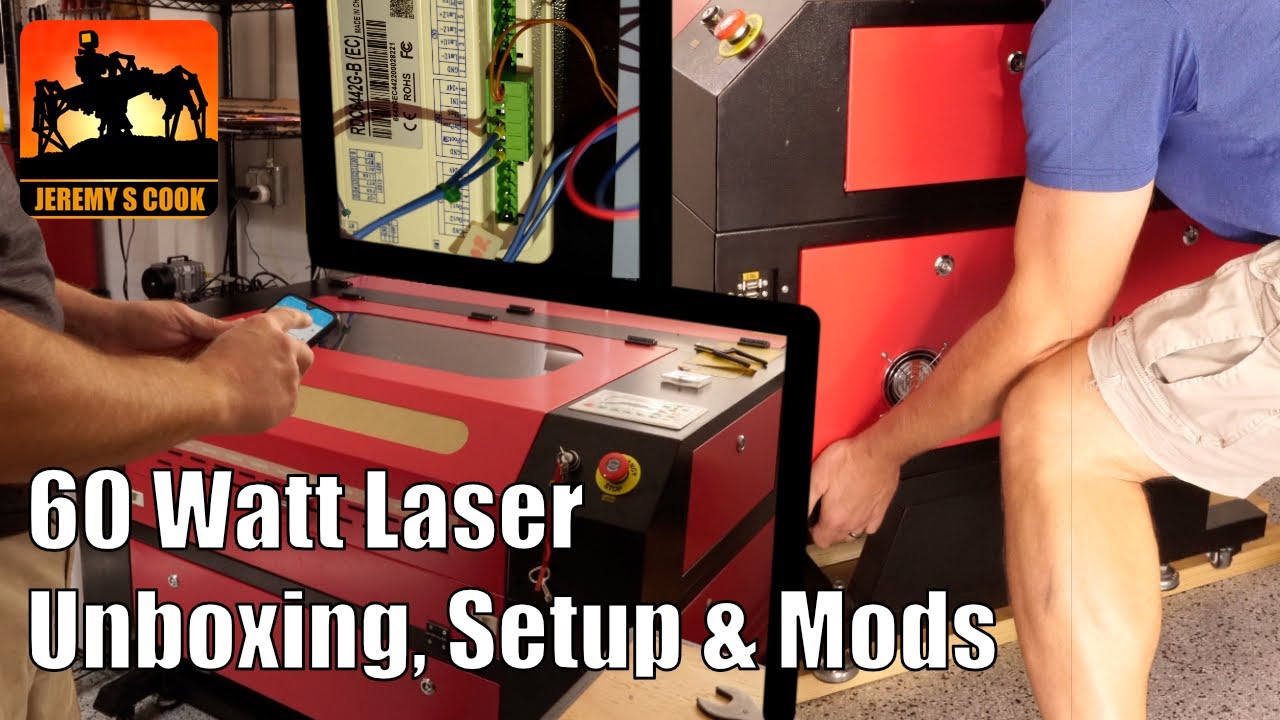
I purchased a 60W CO2 laser from an eBay seller for around $2000 delivered. It’s a fantastic tool, but needed a few modifications and time to set up.
0:00 – Intro
0:23 – unboxing
2:19 – transfer to the floor from pallet
3:16 – fume extractor unboxing and setup
5:13 – storage rack
5:30 – zip ties for hoses
5:45 – Ethernet
6:38 – Adding a lid open stop switch
10:25 – Door vent danger
10:40 – Wear laser safety glasses
11:14 – Adding an ammeter (0-30ma)
12:43 – Grounding lug
12:53 – Remote control with Home Assistant and WiFi switch
13:25 – Cardboard prototyping
14:17 – Cardboard “The Creativity Podcast” Christmas ornament
14:29 – Ammeter and Ruida display in action
14:55 – Laser-cut ornament assembly
15:35 – Thanks for watching!
3D print files: https://github.com/JeremySCook/Laser
Shelf: AmazonBasics 5-Shelf
Ethernet switch: TP-Link 5 Port Gigabit Ethernet Network Switch
Laser: Search eBay etc for a 60 watt laser, what’s available seems to change frequently
Air purifier: https://ebay.com/itm/80W-Smoke-Purifier-Pure-Air-Fume-Extractor-for-CNC-Laser-Engraving-Laser-Machine/402359355512
The Creativity Podcast “Red and Black” Laser discussion: https://youtube.com/watch?v=K5k5J4Mkve0
UCrCbscxHLiaauK4H478ArRQ
co2 laser
#Watt #CO2 #Laser #Unboxing #Initial #Setup


