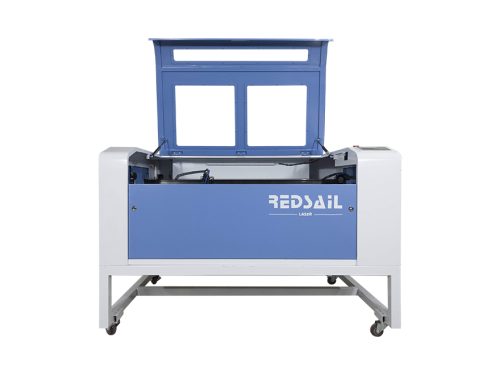
1. For the adjustment of the first light, stick the masking paper on the dimming target hole of reflector A, manually jog the light (note that the power should not be too high at this time), fine tune the base of reflector A and the laser tube bracket, so that the light hits the center of the target hole, and pay attention that the light cannot be blocked.
2. The adjustment of the second light, move the reflector B to the remote, use a piece of cardboard to guide the light into the cross light target from near to far, because if the remote light is in the target, the near end must be in the target, and then adjust the near end and remote light spot to be the same, that is, how the near end is deflected, and how the remote is deflected, so that the cross is in the same position in the near end and remote light spot, that is, whether the near end (far end) indicates that the light path is parallel to the Y-axis guide rail.
3. The adjustment of the third light (note: the cross splits the light spot to the left and right), move the reflector C to the remote, guide the light into the light target, shoot the target at the inlet and the remote respectively once, and adjust the position of the contrast cross to be the same as the position of the cross in the near-end light spot, which indicates that the beam is parallel to the X-axis. At this time, if the optical path is inward or outward, it is necessary to loosen or tighten M1, M2 and M3 on the mirror frame B until they are split left and right.
4. For the adjustment of the fourth light, stick a piece of masking paper to the light outlet, make the light outlet hole leave a circular mark on the adhesive tape, click the light outlet, take down the adhesive tape to observe the position of the small hole, and adjust M1, M2, M3 on the mirror frame C as appropriate until the light spot is round and straight.
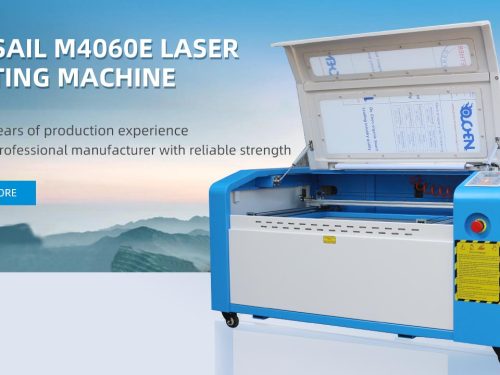
Measuring method of focal length: use the focal length ruler provided by our laser cutting machine manufacturer to lift the nozzle up and down on the number 5 of the focal length ruler. At this time, the light is the brightest and strongest, and then tighten the screws.